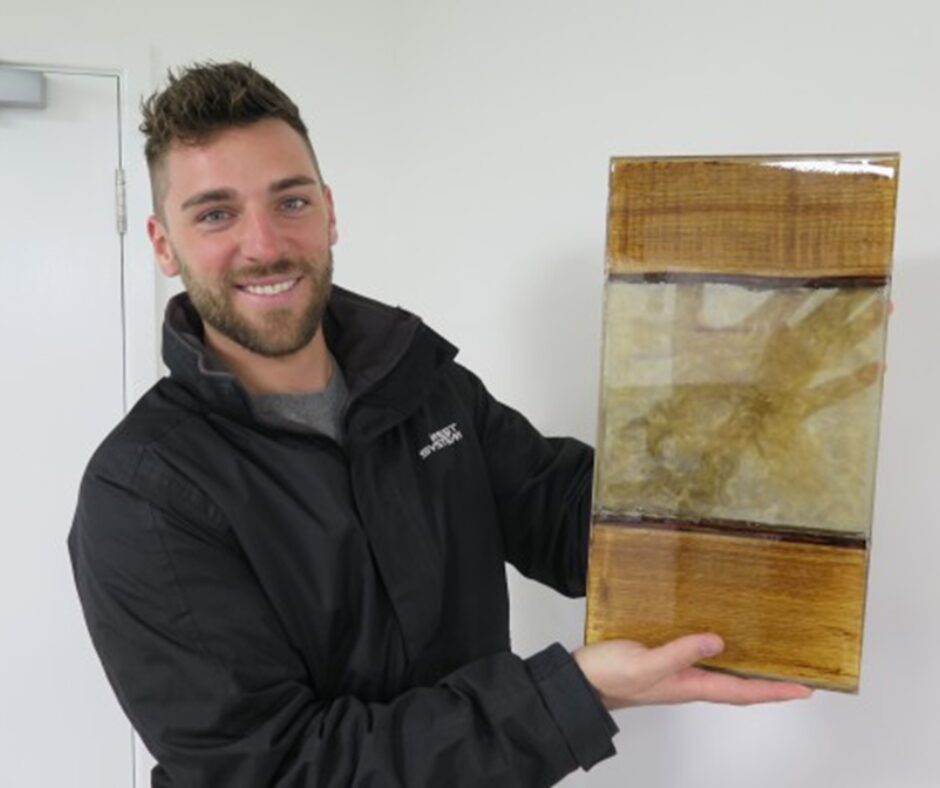
ENTROPY RESINS® CCR clear casting epoxy’s transparency is a game-changer for ‘river table’ enthusiasts. This unique furniture design, which emulates a stream flowing between two wooden banks, has become a popular choice for those seeking a blend of traditional timber and clear cast resin in a striking centrepiece.
The team has been exploring the potential of bio-based ENTROPY RESINS epoxy to create a realistic river effect between two banks of natural timber. This modern approach can also be adapted to create ‘puddles’ in oak or other hardwoods, showcasing the versatility. Unlike natural glass, epoxy can achieve this effect without the need for high temperature melting and pouring.
However, as our Technical Advisor Hamish Cook points out, it’s essential to handle the epoxy pour with care. This is to prevent exothermic reactions that could alter the final colour, ensuring the end result is as great as you envisioned.
How To Make a Resin River Table: A Step-by-Step Guide
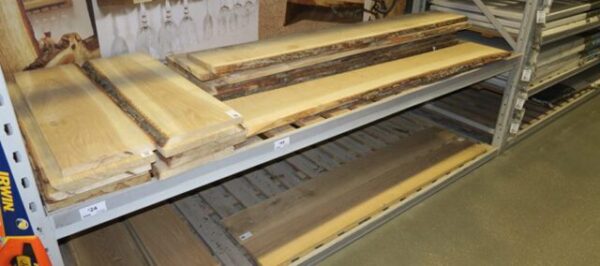
The materials needed for this project are readily available. Planed natural timber, complete with bark, can be found in most DIY stores and serves as the banks of your river table. ENTROPY RESINS CCR epoxy is a key component of this project. You have the option of a slow or fast hardener, depending on your project’s casting size. For the table in this guide, we used about 12 litres of epoxy.
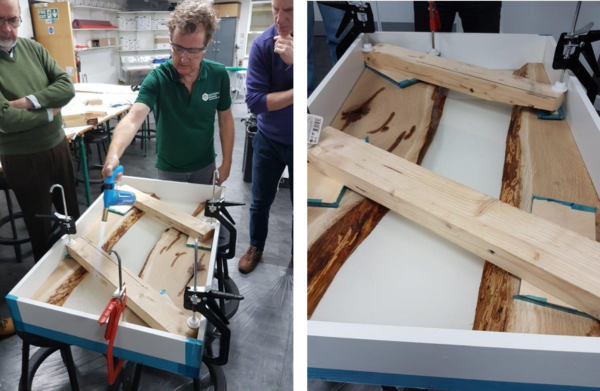
Once the size of the table was determined, the timber was cut to fit and a casing was built around it. The mould was made from common melamine furniture board, chosen for its resistance to both epoxy and moisture, and its compatibility with release wax. To prevent any seepage, silicone was used to seal all the joints.
It’s noteworthy how the clamps keep the timber level and prevent it from foating. Any knots and voids in the timber were filled in advance with ENTROPY RESINS epoxy to ensure stability. The image below shows the pour of the initial epoxy layer.
David Johnson employs a blowtorch, maintaining a safe distance, to very gently heat the surface of the newly poured epoxy. This technique helps to draw out any trapped air bubbles, ensuring a smooth and clear finish. Halfway through the process, you’ll notice that the epoxy layers blend together smoothly. The epoxy also integrates well with the bark’s surface, enhancing the table’s natural look.
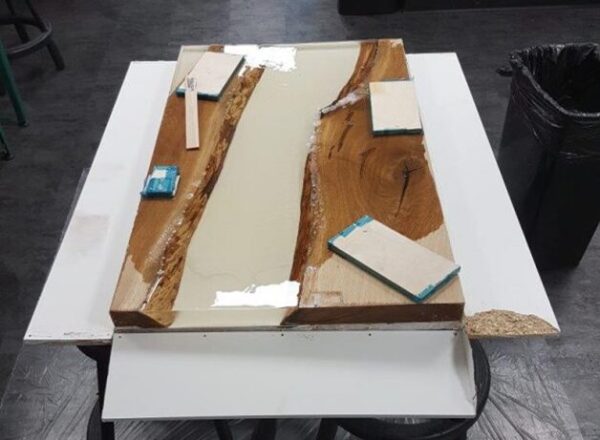
The second-to-last pour goes beyond the banks of the table, spreading over the wood. The table is shaping up nicely. To ensure long-term protection from spills and sunlight, three coats of a clear-gloss, two-pack UV varnish are applied. A professional joiner took over the finishing touches, transforming it into a stand-alone masterpiece.
Hamish’s Guidance: Mastering the Art of Pouring ENTROPY RESINS Clear Casting Epoxy
“We recommend exercising caution when determining the amount of epoxy to pour at once. The combination of epoxy resin and its hardener triggers an ‘exothermic’ reaction, producing heat. While this heat will quicken the curing process, excessive heat can cause the epoxy to yellow or bubble. To manage this heat, we advise against leaving the mixed epoxy in the mixing bucket for any length of time as this low surface area container may cause heat build up.
Consider this: if you pour a 5-litre mix into a 1m² container at room temperature, it will form a 5mm deep layer and generate minimal heat. However, if you pour the same 5 litres into a mould a quarter of the size (50cm x 50cm), the layer would be 2cm deep and the internal temperature could rise to 30-40°C.
If you pour a 5-litre mix into a mould one sixteenth of the original size (25cm x 25cm), the layer would be 8cm deep and could potentially reach temperatures of up to 150°C. These are rough estimates, but they illustrate why it’s more practical to pour multiple shallow layers rather than a few very deep ones. Essentially, when crafting a river table, it’s crucial to ensure that each layer isn’t too deep.”
River Table Creation: Other Aspects to Think About
Room Temperature: Be mindful that if you’re working with epoxy in a warm environment, specifically above 30°C, it could trigger an exothermic reaction. This could occur even in a thin layer and could potentially spoil the project.
Considerations for the Mould: In our project, we used a mould made from chipboard that was coated with melamine, a great option for moulds intended for a single use. However, other materials like plywood treated with release wax or two-pack paint can also be used. It’s important to choose a mould material that is compatible with the epoxy system you plan to use.
Utilising a Heat Gun: Understanding the role of a hot air gun or blow torch in eliminating air bubbles is crucial. This process may require some trial and error, particularly when determining the amount of epoxy, you plan to pour in each session.
Discolouration (Yellowing): Be aware that epoxy can darken or turn yellow if it gets too hot during the curing process. In addition, if the mould material is porous and hasn’t been sealed correctly (like plywood), the heat from the exothermic reaction could cause the air inside the mould material to warm up and out gas. This could introduce numerous additional air bubbles into the epoxy, which might not escape before the epoxy fully cures.
Securing Your Creation After Pouring: While ENTROPY RESINS Clear Casting epoxy comes with UV stabilisers, no epoxy is completely immune to ultraviolet radiation. Exposure to sunlight, whether direct or indirect, can cause the epoxy to change colour over time. Therefore, it’s essential to safeguard your creation. Using two-pack varnishes with UV inhibitors not only maintains the epoxy’s transparency but also enhances the natural beauty of the adjacent wood.

Leave a Reply